Fig. 1
In this section, the process of creating a playable Doom level is explained in detail. The working of the game can be understood easily once this entire process is described.
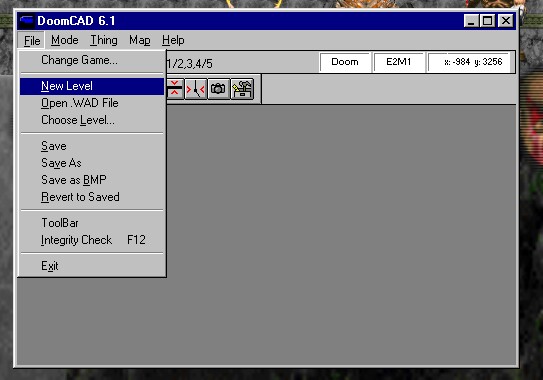
Doom levels are built using a software called an Editor. A number of Level editors are available for free download from the internet. The editor that I have used here is called DoomCAD.
The DoomCAD Editor is simple to use and has an easy interface.
Fig. 1
Vertices are placed in the map (fig. 2).
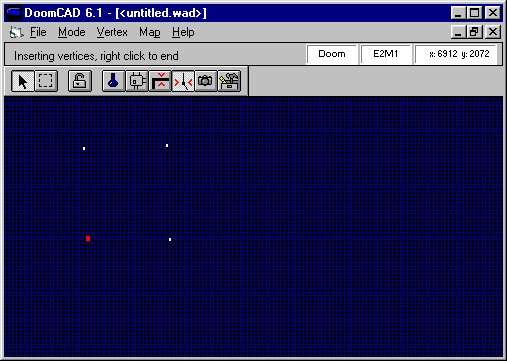
Fig. 2

Fig. 3
By joining the vertices with linedefs, a sector is created (fig. 3). This sector that I have just created consists of four linedefs. Since the player will be standing inside, he can only see the sides of these facing him. So all these linedefs are one-sided.
Each sidedef can have it's own texture, and so I choose textures for the four sidedefs. I have chosen the GSTONE1 texture (fig. 4) for all - this will make the walls look as if they are made of green stone.

Fig. 4
Now I choose properties for the sector. It's brightness is chosen as 190 (values can be 0-255), and it's floor and ceiling heights are chosen. The flat to be painted on the floor and ceiling is also chosen. For example, I have chosen FLAT5_7 (fig. 5) to be displayed on the floor, and this looks like a rocky floor.
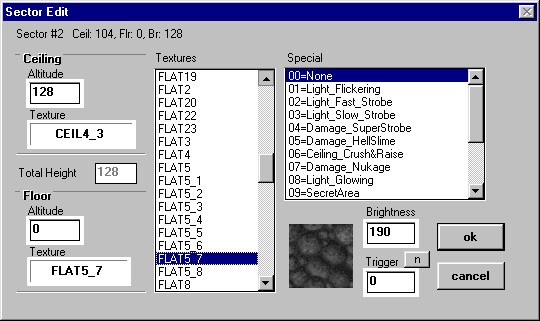
Fig. 5
I then place a player start position in the corner of the map (fig. 6).
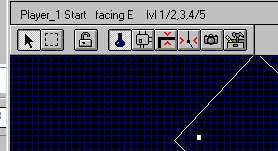
Fig. 6
Then I save the level, and play it in Doom (fig. 7).
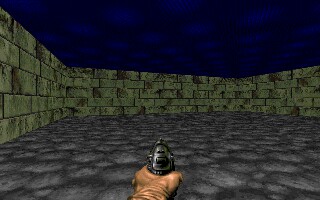
Fig. 7
The engine takes care of using the level information I have given, and generating this room. Here, I can move around using the controls in the game and the engine will automatically redraw the environment so that it looks realistic. I can also shoot with my weapon, and the engine will take care of playing the sound effects.
Notice the textures I have chosen - the green stone on the walls, rocky floor.
This is the way a map in Doom is created. Here a very simplistic map was shown. An actual playable level must contain an exit - that is, a special linedef with a property that it can be activated by the player by pressing a button, which will take him to the next level.
What we have now defined, is our own WAD file which contains just enough information for one level. So in this file we will have 11 lumps, as shown below (fig. 8).
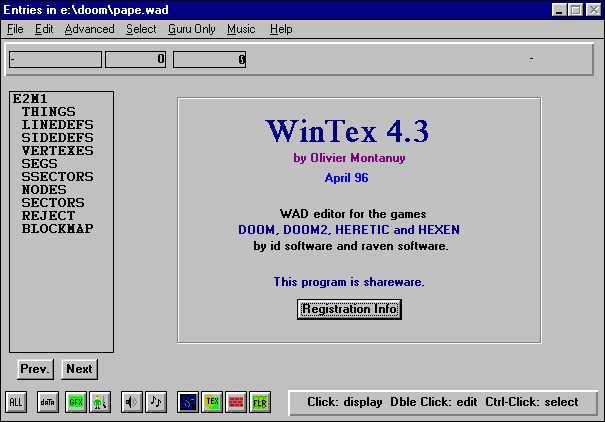
Fig. 8
Our WAD does not contain any other information. The actual DOOM.WAD file is a huge file containing 2,306 lumps!
An example for a complete level, is as shown below. This is obviously a lot more complicated than the small sector that was just shown. This is a completely playable level that contains a large number of (nearly 70) interconnected sectors.
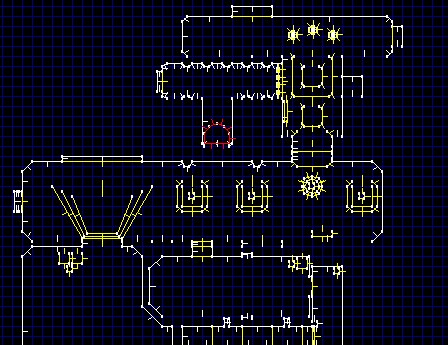
Fig. 9
A scene from this level is as shown below -
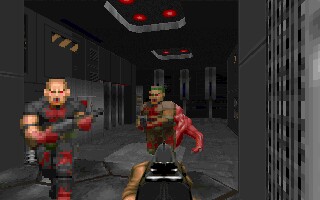
Fig. 10
[Home]